Hot Cocoa Mix in a Jar – Gifts from the Kitchen
It may not be in the official Emergency Preparedness Guide – but hot cocoa is definitely an important staple for winter survival.
Rather than buying artificial hot cocoa mix that has over 14 ingredients*, make your own mix with skim milk powder, cocoa and sugar. If that’s too tame for you, you can always add chocolate chips, crushed candy canes, instant coffee, marshmallows or a little somethin’, somethin’ from your liqueur cabinet.
We keep a plain mason jar of hot cocoa mix in the cupboard, but when we make it for others, we like to dress it up a bit. After a quick google search for “hot cocoa snowman” and “hot cocoa reindeer” we had all the inspiration we needed. Thanks to all you bloggers and crafters out there!


Here’s the recipe for the basic mix.

Hot Cocoa Mix in a Jar
Ingredients
- 2 cups skim milk powder
- 1 cup cocoa
- 1 cup powdered sugar
Instructions
Cocoa Assembly
- Sift together ingredients and mix well to ensure all lumps are removed.
- Pour into jars or baggies.
- Seal and label with cooking directions
Cooking Directions (include these on a gift tag)
- Add 3 Tbsp mix in a mug of boiling water.
- Stir well.
- Top with choco chips, crushed candy cane, or marshmallows.
Notes
Nutrition Facts (per serving)
Now that you’ve seen the homemade version, take a look at the ingredients for Carnation Rich & Creamy Hot Chocolate Mix. Not sure why they have to make it so complicated!
*Carnation Rich & Creamy Hot Chocolate Mix Ingredients: sugar, corn syrup solids, hydrogenated vegetable oil (may contain coconut, palm kernel and/or soybean oil), modified milk ingredients, cocoa, cellulose gum, salt, dipotassium phosphate, silicon dioxide, artificial flavour, mono- and diglycerides, guar gum, sodium aluminum silicate.
The Decorations!
Want to learn more about the crafty side of things? Here’s some more info on the Snowman and the Reindeer. The monogrammed mugs have their own post.
The Snowman
He’s pretty much made of scraps from around the house and held together with hot glue and packing tape. Because I didn’t want to hot glue the jar lids (so they remain useable) I used packing tape to stick the jars together. They’ve held up pretty well.
His top hat came from a piece of black, shiny cardboard we had lying around. I cut a large circle for the brim and a smaller circle for the top. I cut a rectangle that I rolled up and glued to form the tube of the hat. I hot glued the larger circle on the bottom and the smaller circle (cut to fit the size of the rolled tube) on the top. A piece of sparkly green ribbon covered any glue drops and adds a nice touch to the hat.
The scarf is a piece of red ribbon.
His arms are made from one black pipe cleaner that I tucked under the scarf. The hands are short pieces of pipe cleaners attached at either end of the long pipe cleaner.
Buttons and construction paper make up the small details.
The Hot Cocoa label was free, editable and printable, sadly no longer available where I got them from.
The Reindeer
I didn’t have time to order or track down cone shaped cellophane bags, so I used plastic icing piping bags. The mix in the above recipe was enough to fill 5 piping bags (3 servings each). The extra toppings require another piping bag. Basically, you need 2 piping bags for every reindeer.
Why 2 bags?!


Because there are three servings of hot chocolate per bag and you want to make sure there are toppings for each of those servings, you want to keep the flavour toppings (choco chips, crushed candy canes and marshmallows) separate from the hot cocoa mix. Hence, the two bags. Here’s what to do:
- Pour 135 ml (3 servings) of hot cocoa mix into a piping bag. Seal well with twist tie. Trim extra plastic at the top.
- Place the filled piping bag into another empty piping bag. Ensure there’s a snug fit and that the seams line up to face the back.
- Place choco chips, crushed candy canes and/or marshmallows on top in second bag. Seal well with twist tie.
- To make the antlers, tie a shoelace bow on top of the twist tie. Pull snug on the pipe cleaner ( a little tricky, but you’ll get it). Using scissors, cut the loops and bend the ends to look just like antlers!
- Glue on googly eyes and red nose.
- Label and voila, all done. So adorable!
More Gifts from the Kitchen
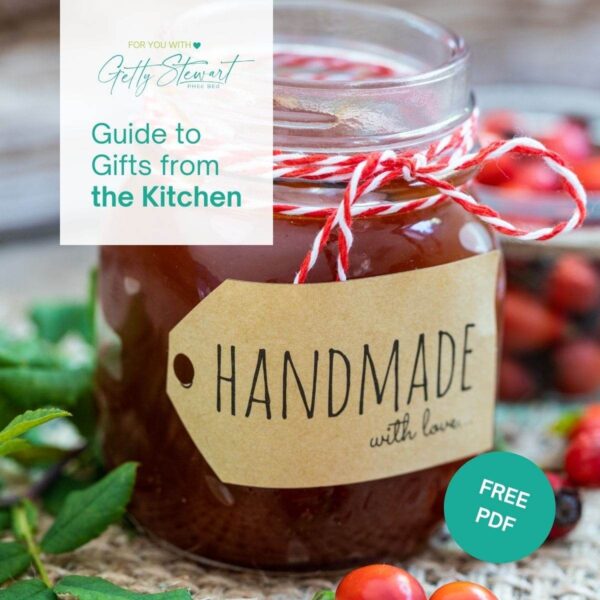
Grab your FREE copy
Download this ad free printable Guide and learn to make beautiful, delicious Gifts from your Kitchen.
Includes tips & links to 50+ ideas for homemade, shelf stable gift giving.
- Cookies in a Jar
- Soup in a Jar
- Flavoured Infusions + Preserves
BONUS printable gift tags
Hi Caroline,
I have not tried a sugar free version. Maybe try xylitol?
Do you have any recommendations to make this sugar free. I haven’t found a commercial one that’s been drinkable without having to add more stuff to it. I currently use stevia, monk fruit and sucralose as sweeteners. But I’m open to other ones. Just not aspertame, gross.